Making music in your home can seem challenging. Catching that right sound can feel overwhelming. Many times artist struggle with things such as: not enough echo, too much echo, unable to hear lyrics, unable to hear music and an array of other problems. These problems can easily be fixed and avoided by utilizing the many best practice tips available for home recording. Below I have listed 10 tips I think will help you capture your music exactly the way you intended with amazing quality.
So, Why Does it Matter?
Because these days most new musicians record in their homes. Many of these musicians fail miserably because of awful sound quality. A musician can be unequivocally talented, however, if the recording quality is substandard, most people will tune out. Recording the best quality music can ensure that listeners get the best music out of the musician. This in turn, brings listeners back. Let’s take a look at what a musician can do to increase the quality of home recordings.
1. Put The Mic in The Best Position
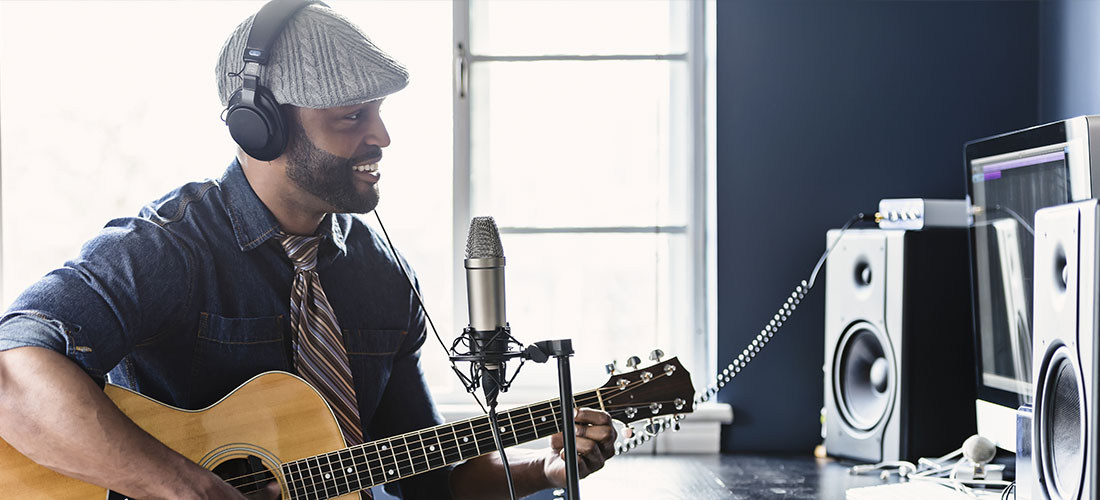
A sometimes overlooked concept is mic placement. By simply placing the mic in a place that best catches the sound of your recording, you will notice an incredible difference in sound. Perhaps during playback you could barely hear your voice, or maybe the recording didn’t get a clear sample of that cool guitar riff? Whatever the reason, place the mic or mics in places that gather the clearest sound.
2. Start With The Beat
Every recording has to begin somewhere. Typically rhythm is a great place to start. Lay down the beats to your music first, record them and then go back to cover the vocals. This will ensure a clear and concise recording.
3. Headphone Mix
Many artists enjoy the headphone feed because it gives them confidence. However, this confidence can be tricky and sometime mask impurities. Instead, focus on achieving a solid pitch and perfect timing reference. This will ensure a great performance out of the musician.
4. Headphone Bleeds
A commonly overlooked concept, especially for a new artist, is the idea that your mic is picking up the backing track bleeding through your headphones. You can eliminate this bleed by using headphones that are fully enclosed. These types of headphones are great because they help keep your ears isolated from outside noise as well as prevent music from spilling to the mic. These are a must if you want to ensure you capture only the audio you want during recording sessions.
5. Your Computer Studio
Recording in the same room as your computer can also cause unwanted noise. You can position a directional microphone in a way that the rejection node is facing the source of noise. It’s important not to cover up the computer, this will only lead to the computer’s fan getting loader as it attempts to compensate for increased heat.
6. Picking The Right Room
If for whatever reason, you do not have a studio in your home. You can make one. Many people find the bathroom to work great. The bathroom is enclosed and offers great acoustics because of the material make up of the wall. Many people also decide to use a variety of materials to build their own home studio. Items such as vinyl or other wall panels make great sources for a studio. No matter which road you choose to travel, the idea behind a great studio and optimal studio sound is to sandwich the materials on the wall. This will ensure the best recording quality.
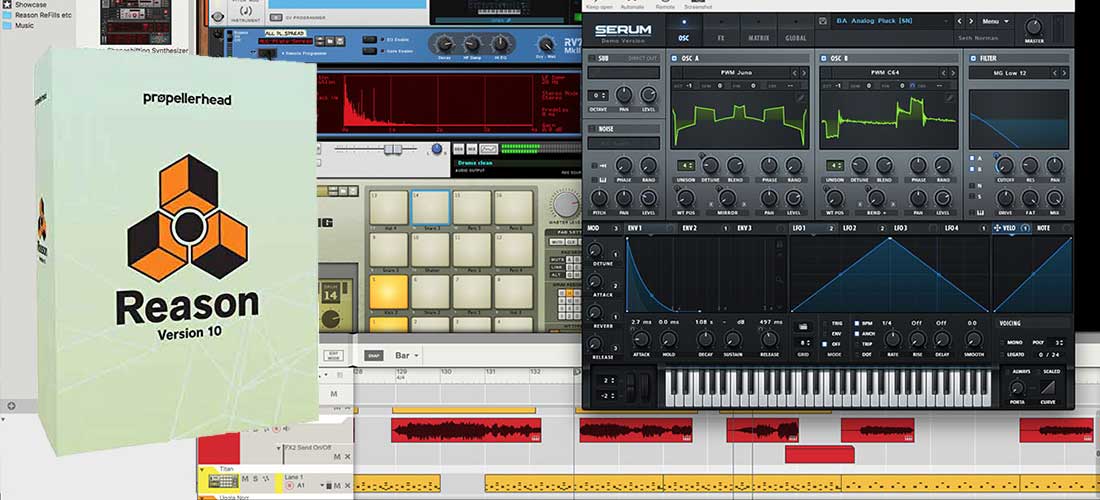
7. Software
Finding the best software to record with and setting that software up is vital to a proper recording. Get to know which software you decide to use. Play around with the program before recording anything significant. It is important that you know what your software can do. By knowing what you need and what you can do, you can be sure that you have the correct software required for your home recording.
8. Locking Multiple Tracks
Most recording software available today allows the musician to lock multiple tracks. This is important because by using tracks that are contemporaneous and in harmony with one another, you allow a reduction in the time it takes to edit the recordings. This has become a vital step in the recording industry.
9. Utilize Your Ears
If you are recording in a location that you have never recorded in before. You should take the time to walk around the space to get to know it. Clap your hands and use your voice to listen to the sound quality of the room. By using just your ears to listen to the sound in different parts of the room, you can gather information as to which area of the room you should record in.
10. Always Remember Tuning
Tuning is an essential part of recording. Always be aware that there will be issues within the recording in terms of tuning. Instruments are often overlooked in regards of tuning. Especially if someone is concerned about the tune of their singing. Be sure to check the tuning of each individual instrument between all takes. This will essentially save you time and heartache in the end.
Final Thoughts
Whether you are a professional or novice in home recording, there are always things to learn. It is essential that you gain proper knowledge on how you, as an artist, can improve your sound quality with each passing day. By continuing to educate yourself on sound quality, you are constantly growing as a musician.
I hope you were able to find value in this list, it is comprehensive but by no means complete. Leave a commit and share what tips & tricks you use to get the most out of your recordings.
And don’t forget you can stay connected by following us on any one of our social media platforms.